Followers

Sunday, 21 December 2014

Turquoise, Beige and Gold for a Christmas Change xx

Hiya and welcome to my Blog

This week we have a New Challenge over at That Craft Place Challenge Blog and the Theme is Anything Goes 

For this Challenge I have used the Card I made for my Mum-in-Law for Christmas I chose Turquoise, Beige and Gold for a change from the Traditional Christmas colours

I chose to use 'Sugar Frosted' as my Image I love her a lot you can get yours HERE


I coloured her using Copic Markers


I have used 'Snow Village' Paper Pad by 'Pink Paislee that I brought recently from 'That Craft Place'

I chose my markers to match these papers and matched it up with some rolled gold mirror board which is one of my faves

The Flourish Die is from Joycrafts which you can also get via 'That Craft Place' just ask them nicely

To finish the card I have used a circular stamp, paper flowers and flat backed pearls from my stash

I hope you like my card and will visit again soon

Dont forget to join in the fun over at the Challenge and why not join the That Craft Place natter group on Facebook too

Hugs Kerrie
That Craft Place DT

Wednesday, 17 December 2014

Pink Christmas with Keeley for The Stamping Chef Challenge


Hiya and welcome to my Blog

Today we have a new Anything Goes Challenge starting over at The Stamping Chef Blog 

I did a spot of Multi Tasking this week and used one of the Gorgeous Images by our Tamara on a Christmas Card and then used this for my DT make for the Challenge

I have used Keeley (oops because she is a Slinky<3Tart Image and not TSC)


I coloured her a few weeks ago using Copic Markers (you may have seen her in The TSC Shop coloured by me)

Skin: E04, E11, E21, E00, E000
Eyeshadow, C3, C5
Eyes: YG67, YG63
Lips: RV21, RV11, RV10
Hair: E39, E37, E35, E31
Vest & Socks: C9, C7, C6
Undies: RV21, RV11, RV10


Card Recipe:

Papers 'Rose Tinted Christmas' from DCWV
Silver Mirror Board from B&M
8x8 Cardblank from The Range
Spellbinders Die 
Black Cardstock
Border Strip cut from the papers
Flat Back Gems 'Aurora Borealis' from my stash
Christmas Circular Stamp from 'Lili of the Valley'

I hope you like my card and will visit again soon

Don't forget to enter the Challenge as you could win 3 Images of your choice from The Stamping Chef Shop - we also have the end of the year closing down sale happening so grab your fave images while you still can 

Krafty Hugs
Kerrie
TSC DT

Tuesday, 16 December 2014

Crafting Musketeer's - Use Bling

Hiya and welcome to my Blog

Today is the Halfway point to our Monthly Challenge over at Crafting Musketeer's Blog, our theme for this month has been 'Use Bling' oh yay!! our challenge this month is sponsored by Jackie Western of Party Nights Creations and the prize is so lush you so need to enter

As it's the run up to our Christmas Holidays I have been making some gifts for the Teachers and I thought that this would be a perfect make for this Challenge too


I have made this pretty little Calendar/Notepad with Penholder for full instructions on how to make this project please visit my previous Blog Post using the link below...


Recipe for this Calendar/Notepad 

Centura Pearl Snow White Cardstock
3x3 inch PostIt Pad
Glittered Backing Papers from Studio Light
Pearlescent Pink Cardstock
Gem Ribbon Slider
Mulberry Paper Flower 
Martha Stewart Border Punch
White Cardstock
Flatback Gems
Papermania Calendar Tab
Mini Gel Pen


Once you have made one of these you will want to make more as they are so easy to do and can make use of lots of your offcuts and stash

Thank you so much for visiting my Blog today and I do hope you will visit the Crafting Musketeer's Challenge Post to see the gorgeous makes by the Amazing Design Team and get your entries in 

Krafty Hugs
Kerrie xx
Crafting Musketeer's DT

Sunday, 7 December 2014

Christmas Challenge over at That Craft Place

 
Hiya today see's the start of a New Challenge over at That Craft Place BLOG and the theme is 'Christmas' go on over and visit the BLOG to see the Inspirational makes by the Design Team

I have chosen to use a lovely Image from the 'Sugar & Spice' range available from That Craft Place Etsy Store

The Image is called 'Squeeze'


I coloured the Image using Copic Markers (to match the papers I chose to use)

Sugar
Hair: E49, E44, E43
Skin: E04, E11, E21, E00, E00 R20
Dress: G28, G16
Shorts: R39, R37, R35
Makeup: R35, R22, R20

Spice
Hair: E44, E43, E41
Skin: E04, E11, E21, E00, E000, R20
Dress: YG13, YG11
Belt: R39, R37
Shirt: R24, R22
Underskirt: R35, R32
Makeup: YG13, YG11


I have used lots of layers and jaunty angles for this card but not overly fussy as I want the Gorgeous Image to be the main focal point

Recipe:
8x8 Cardblank
Christmas Wishes papers by Trimcraft
Xcut Doily Die
Trimcraft Washi Tape
Xcut Flower Dies
Scrabble Sentiment (from That Craft Place Etsy Store)
Mirror Board
Coredinations Cardstock

All of these items I've brought from That Craft Place before

Thank you for visiting my Blog today and I hope you will head over and join in the Challenge over at the That Craft Place BLOG xx

Krafty Hugs
Kerrie xx
That Craft Place DT

Friday, 5 December 2014

Challenge #7 - Anything Goes - over at Paperbabe


Hiya and welcome to my Blog this Friday afternoon - today we have a New Challenge over at Paperbabe Stamps BLOG and the theme this time is Anything Goes - you need to use at least 1 Paperbabe Stamp to enter - head over to see what Kim and the Design Team have made to inspire you

I chose a few of the New Christmas Stamps to use for my make which will be available soon on the Paperbabe Etsy STORE

The main Image on the card is 'Snowman Knit Scarf' red rubber stamp (premounted on acrylic block) isnt he gorgeous


I have coloured him using Copic Markers

Hat & Bobbles: R59, R39, R37
Fur: C2, C1, 0
Snow: C5, C3, C1, 0
Scarf: E49, E44, E43
Branches: E44
Leaves: YG67, YG63
Carrot: YR07, YR04


I stamped the background using 'Look Like Christmas' script red rubber stamp (premounted on acrylic block) and then inked the edges of the ivory card using Whisper Archival ink 'Chestnut'

For the Sentiment I stamped 'Christmas Wishes' red rubber stamp (premounted on acrylic block) trimmed the cardstock and inked edges using Whisper Archival ink 'Chestnut'

I have Matt & Layered using Christmas Papers and Mirror Baord from my stash and finished with a few gems

I hope you like my project today and will visit again soon

Go on over and visit the Paperbabe BLOG to see the Design Team makes enter the challenge as the prizes are gorgeous

Krafty Hugs
Kerrie xx
Paperbabe DT


Easel Calendar/Notepad with integrated Penholder - Tutorial

Hiya and welcome to my Blog - this week I have been making gifts for the teachers from my children I created these cute little Calendar/Notebook's but I thought what do i never have to hand when making a note?? A pen lol so i added a little penholder and mini gel pen to the gift


I have made a few of these already and have quite a few left to make but while posting a pic of them on my Facebook to show what I have been doing I had a few frends ask how I made them so I thought I would do a little tutorial for them on my Blog so you can see and maybe make some for yourself

Tutorial

First you need to choose a cardstock it needs to be quite strong but not too heavy - I chose Centura Pearl its so pretty to use and I had a lot of offcuts from boxmaking so this was a perfect chance to use them up

You also need to pick some pretty paper to decorate your Calendar/Notepad, I chose some pretty glittered cardstock from Studio Light

You also need:

Paper Trimmer
Scissors
Ruler
Bone Folder/Score tool
Score Board (inch measurements with eighth's)
Postit Pad (3 x 3 inch square)
Calendar tab
Mini gel pen
Strong Glue
Extra Strong Tape
Foam Tape (1mm deep)
Scrap of Mirror Board
Scrap of white paper
Border punch
Ribbon (& Ribbon slider if using)
Small paper Flower
Gems or Pearls

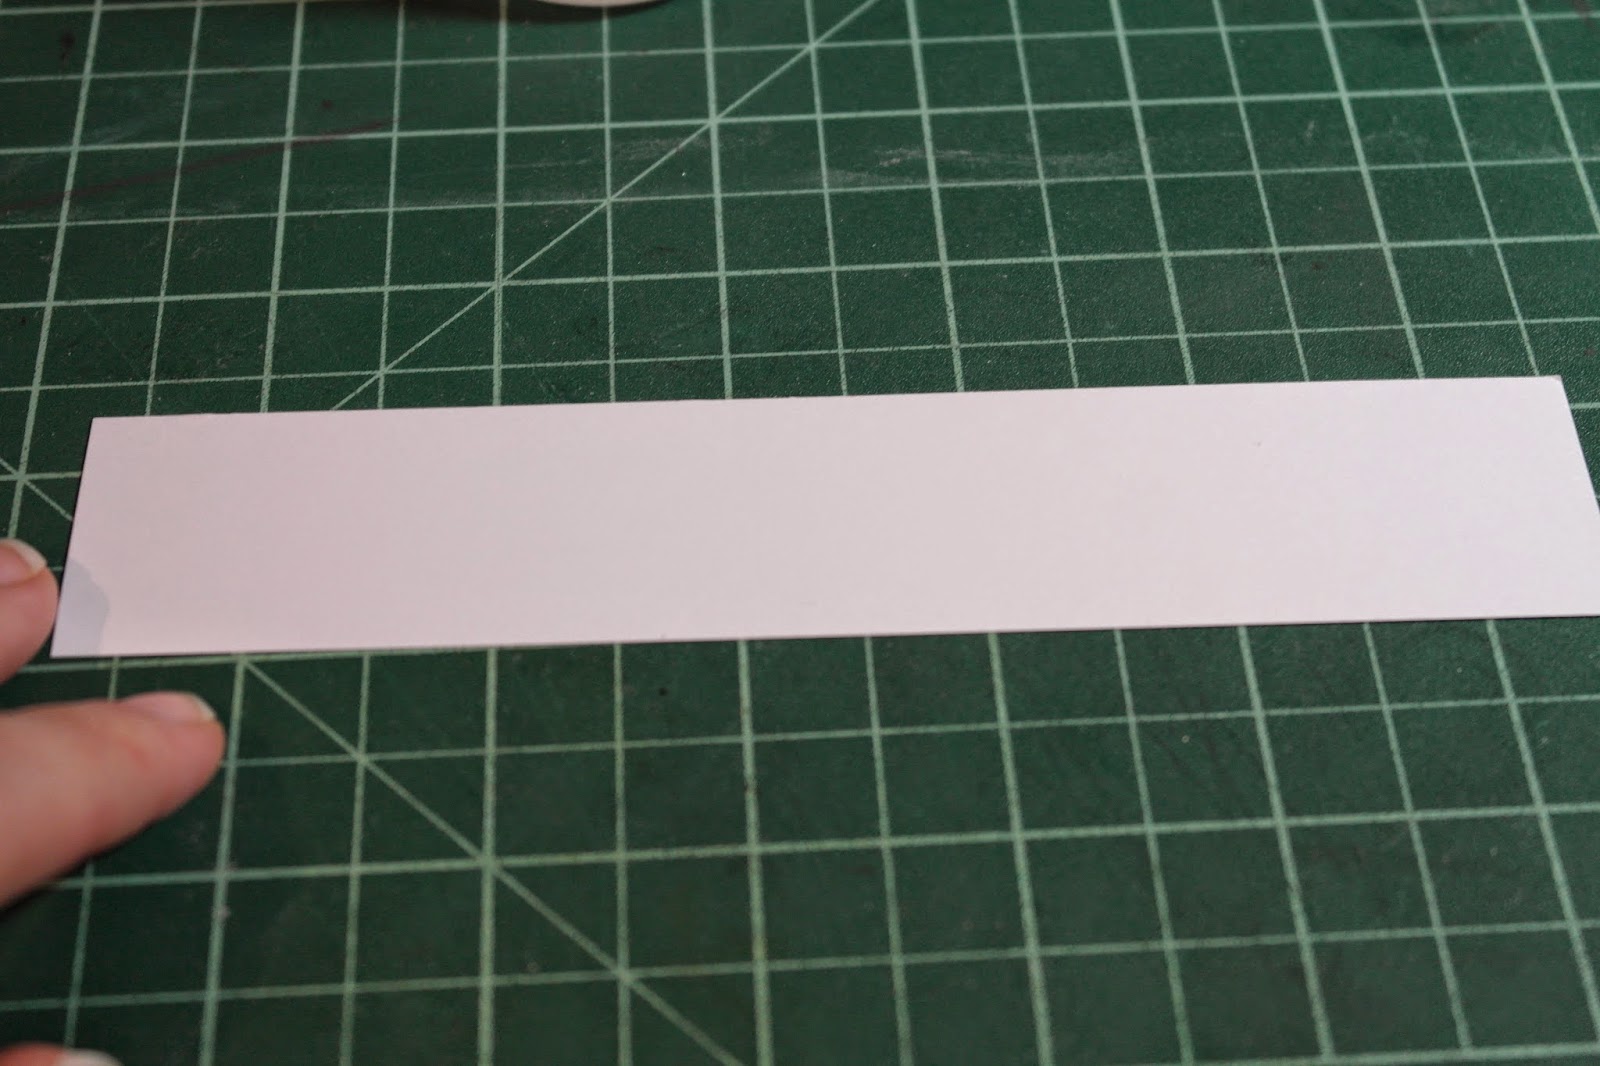
Next we have to measure and trim the Cardstock and Papers

Cardstock:
Base: 9 6/8 inch x 3 1/2 inch
Front Easel Panel: 3 1/2 inch x 4 1/8 inch

Paper:
2 of    3 3/8 inch x 1 7/8 inch (short panel)
3 3/8 inch x 3 7/8 inch (back panel)
3 3/8 inch x 4 inch (front panel)
3 3/8 inch x 3 3/8 inch (panel under note pad)

make note of which panel is which (details in brackets) just so you don't mix them up later

Take the Base part of Cardstock and Score at 4 1/8 inch, fold the score line and burnish with bone folder, butt the fold line right up against the edge of the score board and then score again at 4 1/8 then score at 4 1/2, 4 7/8 & 5 2/8, fold and burnish all score lines.


Next fold up the end on the 3rd score line


We now need to make 2 cuts in this fold up to the first score line see photo's below...


Put strong tape on the back of the 4 scored parts avoiding the cut out see photo below


The next part is a bit fiddly but I have taken a few photos to help we need to stick the taped parts together to form the pen holder

Stick the first fold straight down but pull out the untaped part like in first photo, stick the next two folds together to form a wall see middle photo, stick the last panel down to the base part like in the last photo - you now have a penholder and a wall for the notepad to rest on later

Fold the back panel in half to the middles score line and burnish to form the moving part of the easel see photo below


Next we start to attach the backing paper panels to the corresponding panels on the base of the project


Stick the paper labeled front to the front panel, flip the large base panel over and stick the paper labeled back to the large section, take one of the small pieces labelled short panel and stick to the bottom half of the scored flap - see photo


Stick the front panel to the undecorated half of the scored flap as shown in photo below


flip the project over to the back and take the last short paper panel and glue to the reverse of the front panel this hides the plain white part so the project looks neat even from the back


You have one last paper panel left its the one for under the postit notepad glue this in place


Using a strong glue (i use collal all purpose) to stick the postit notepad in place right up against the wall we created earlier


Next take a scrap of mirror board in a colour that co-ordinates with your papers and trim to 3 1/16 inch x 2 1/16 inch and glue the calendar tab to it leaving a tiny border. Stick the foam tape to the reverse and set aside for later


Use a scrap of white paper and punch along it using a pretty border punch, trim this border to 3 1/2 inch
Glue the Border to the front panel and slide the pen into the penholder


Attach a ribbon with ribbon slider if using or tie the ribbon round the panel and tie a bow


Then fix the calendar tab to the front


Decorate with paper flower and gems or pearls

Your Easel Calendar/notebook with penholder is finished - these make lovely gifts for teachers or stocking fillers


I hope you have enjoyed my little tutorial and that you will enjoy making these cute little gifts

Krafty Hugs
Kerrie xxx

Wednesday, 3 December 2014

Christmas Elf - Anything Goes Challenge for TSC


Hiya and welcome to my Blog today a New 'Anything Goes' Challenge over at The Stamping Chef Blog - don't froget to visit and check out the gorgeous projects from the Design Team

I have chosen to use 'Flox' for this make as Im working through my Christmas Cards for Family 


I coloured her using Copic Markers

Hair: E37, E35
Skin: E04, E11, E21, E00, E000
Coat & Hat: R27, R08, R17
Buttons: E49, E44
Trousers, Scarf, Gloves, Eyes, Snowflakes & Tassels: BG13, BG11
Snow, Hat & Coat Trims: C3, C1, C0


I've set myself a challenge to use products I've not used before or need to use up so all the Items below are either never before used from my Christmas Stash

Recipe:
7x7inch Cardblank
Backing Paper 'Berry Merry' by Jennifer Ellory
Gold Mirror Board from 'B&M store'
Doily from 'Hobbycraft'
Festive Parcel Tape from 'Lidl'
Red Cardstock (from my own stash)
Poinsettia Stamp from 'Wonder Collection' by Penny Black
Snowflake's & Swirl stamps from 'Enchanted Christmas' by Hot Off The Press
Poinsettia Die by 'Sue Wilson' from Spellbinders
Poinsettia Paper Flower (from my stash)
Sentiment (typed and printed my laptop)

I hope you like my card today and will visit again soon

The Stamping Chef has a massive SALE over on The Shop why not check out some Bargains 

Hugs Kerrie xx
TSC DT


Monday, 1 December 2014

'Do You Wanna Build A Snowman?' for SSD


Hiya today see's the start of a New Progressive Challenge over on the Sassy Studio Designs Facebook Group and the Image for this Challenge is the oh so cute 'Snowman and Sentiment' Inspired  by the Film - Frozen 

You get the 'Snowman & Sentiment' Free by request for joining in the Challenge you can can chose to use either or both but if you request them you need to enter or no Freebie Next Month - head over to the Facebook Group to see some Design Team inspiration and to see all rules for entering 

This is my Last Design Team Project for Sassy Studio Designs - I have stepped down for personal reasons - but such a lovely project to end on x 

Here is my make using the Cute Image

I coloured him using Copic Markers


Snow: C3, C1
Mouth, Coals & Eyebrows: C7, C5
Nose: YR07, YR04, YR02


I have teamed my coloured Image with a pretty Snowflake backing paper printed from one of my Crafters Companion CDroms 'Bebunni Christmas'

Recipe
I used a 7x7 Cardblank
Holographic mirror board trimmed to fit a few mm smaller than the Cardblank
Snowflake Backing Paper trimmed to fit a few mm smaller than the backing paper
Topper Image trimmed to a few mm of the coloured Image backed with Holpgraphic mirror board
Topper attached using foam tape at a jaunty angle
Snowflake Circle die cut from Holographic mirror board cut into 2 parts attached around the topper
Sentiment trimmed and backed with Holograhic mirror board attached with thicker foam tape attached at a jaunty angle the opposite way to the topper
Snowflake dies various sizes cut from Holographic mirror board attached using tacky glue in various places around the card to balance it
Gems attached with glossy accents to a few Snowflakes and in corners of the card

I hope you like my card and will visit my Blog again soon

Go on over to take part in the Sassy Challenge in the Facebook group it is a lot of fun

Hugs
Kerrie xx
Sassy DT (last time)


TCBOTB Background

Related Posts Plugin for WordPress, Blogger...