

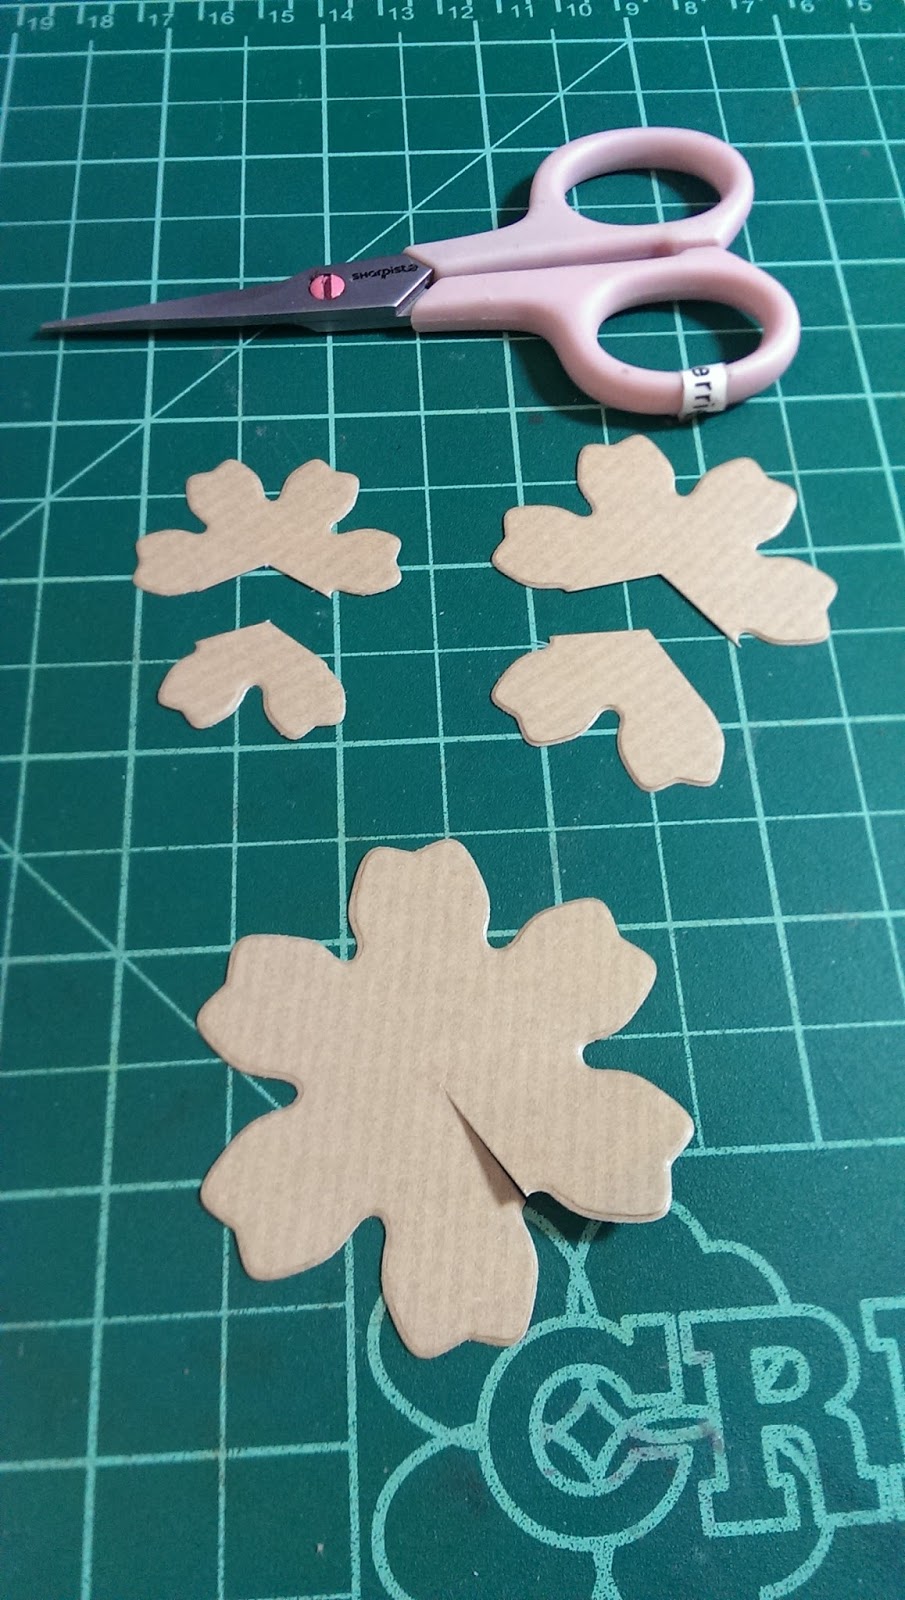
 Next using a small pair of scissors cut the largest one from edge to the middle - then the 2 smaller ones cut out a section as shown, discard one of the tiny sections
 Next apply tacky glue to 1 petal on each the 3 larger pieces.
 Bend each piece over and stick the end 2 petals together.
 Using a pair of gripper tweezers curl over the edges of each petal on all 3 larger pieces.
 Apply a blob of tacky glue to the middle of the largest piece.
 Attach the next largest piece
and hold in place with your
finger until the glue sticks.


Repeat with the next smallest piece.
Now take the smallest piece from earlier, curl over the edges and sniap away the corner.

 Curl this piece around the tweezers and apply tacky glue to the edge.
 You will have a tight curl that looks like a bud.


I hope you have found this Tutorial useful thank you for reading and i hope to see you again soon
Luv & Krafty Hugs
Kerrie xx
Beautiful tutorial Kerrie xx
ReplyDeleteThankyou huni
DeleteFab kerrie xx
ReplyDeleteThankyou so much xx
DeleteFab tutorial, Kerrie - the roses look great.
ReplyDeleteHugz, Jan xx
Thankyou jan x
DeleteGreat teacher...xxxxx
ReplyDeleteThankyou xx
DeleteGreat tutorial, will have to get me some of those dies now lol x
ReplyDeleteyay judith xxxx
DeleteGood tute Kerry... now then...where's me dies?
ReplyDelete;)
Lisa
xx
thank you Lisa xx
Deletehave fun xx
Thank you kerrie this is a great help xx
ReplyDeletesuch a great help to all crafters. superstar sis xx
ReplyDeleteTerrific tutorial. I would not have thought to make a rose that way!
ReplyDelete