Followers

Friday, 26 September 2014

Sketch Challenge with Paperbabe xx


Hiya it's Friday which is really exciting but today more so as it's the start of a New Challenge over at the Paperbabe Stamps and the Theme this Fortnight is a Sketch

Do go and visit the Paperbabe Stamps BLOG to see the Design Team inspirational Makes and to see all the Challenge Info


For your entries you will need to use at least one Paperbabe Stamp/Digi and follow the Sketch above, you can flip or rotate the sketch but the layout need to be visible

The stamps I chose to use are 'Mayleedee' the 'Ribbed Background' and the 'DesignA Knit' set.


I have followed the sketch using a few papers and pieces of mirror board from my stash.

Onto an Ivory 6x6 scalloped edge card blank I layered up with brown mirror board and a blue floral backing paper I rounded the corners. I then stamped the Ribbed Background onto Ivory cardstock using Distress Ink and then washed over with a wet paintbrush to drag out the colour. Then matted using brown mirror board and rounded the corners. I attached this panel to the card front using 1mm foam tape.

I stamped Mayleedee onto an off-cut of Ivory cardstock and die-cut using a circle die. I coloured Mayleedee using coloursoft pencils and then stamped the Large & Small PomPoms from the DesignA Knit set around the edge of the circle. I die-cut a scalloped die from brown mirror board and fixed Mayleedee to it. I fixed this circular topper to the Ribbed Background panel using 2mm foam tape.

I cut a thin strip from an off-cut of Ivory cardstock which I matted with brown cardstock and rounde the corners. I stamped the 'Cozy Snuggles' sentiment from DesignA Knit' into the middle of the strip and 2 Small PomPoms onto each side. I fixed this strip to the card front using glue gel.

I hope you like my card today and that you will visit the Paperbabe BLOG and enter the Challenge 

Hugs Kerrie xxx
Paperbabe DT


Thursday, 18 September 2014

With Love From Paris - hehe x


Yesterday a New Challenge began over at The Stamping Chef BLOG - please do visit to see the amazing DT examples and more info about the Challenge which is a nice challenge as the prize is 3 The Stamping Chef images of the winners choice

Here is my DT project for the Challenge - so sorry it is late 

I have used the lovely 'Mademonsieur' Image which got me thinking of Paris and I built my theme 
from there 

I coloured the Image using Copic Markers which I have chosen to match in with the papers I chose to use, they are papers from The Stamping Chef  'Silk Promises' paper pack


I then chose a few Paris them stamps from 'Creata', From 'Aly's Inky Fingers' and from 'Sam Poole' to create my layered up background and embellishments


I stamped a script stamp from Creata over one of the backing papers.

I have used Distress Inks to age and distress the papers and embellishments.


The Crochet Flowers I made using Crochet Lace which I pulled on of threads to pull the lace into a rosette shape which I then stitched the two ends together to keep it neat. I atached this rosettes to the card front using glue gel and fixed a button to the centre of each also using glue gel.


The french breads I have cut them using Dies by Joycrafts and some 'Funky Foam' in cream that I have then inked using distress ink to give the baked look.


I do hope you like my card and it inspires you to enter the Anything Goes theme challenge, I would love for you to  visit again soon

Krafty Hugs
Kerrie xx
TSC DT


Friday, 12 September 2014

Flowers Challenge at Paperbabe


Hiya today begins a New Challenge over at Paperbabe Stamps BLOG

The Theme is Flowers 

For a change from Cardmaking which is my all time favourite craft I made a pair of earrings using the 'Large Peony' stamp from the Large Peony & Bud red rubber stamp set.


I stamped the Large Peony onto Shrink Plastic its a very large flower but with the amount the Shrink Plastic shrinks it becomes a really nice size for earrings but you can still see the detail of the Beautiful Stamp.

I coloured the Flower using 3 shade of pink Promarker and a lovely Green colour for the leaves.

Marsh Green, Carmine, Cerise and Pink Carnation

I punched a hole into the single leaf on each of the Flowers before heating the Shrink Plastic so that I could attach them onto jump rings to attach to the earrings once shrunk.


I chose some pretty pink glass beads which I made into drop earrings using 4 Eye Pins and 2 Earring Wires - I attached the jump rings from the flowers to the bottom eye pin on the drop earrings, they are lovely and long but not too heavy.


I do hope you like this little something different from me today and will visit again soon xx

Dont forget to visit the Paperbabe Stamps BLOG to see the challenge and the Design Team Projects we would love for you to enter for a lovely prize xx

Oh before I forget we also have a Paperbabe Fan Group on Facebook have you joined yet? We would love to see you there xx

Krafty Hugs
Kerrie xx
Paperbabe DT


Monday, 8 September 2014

Besties 'Wings'

Today begins a new Challenge over at Besties UK Challenge BLOG
Do please visit the Blog to see the Design Team Samples and more info about the challenge

The Theme today is 'Wings' and as always there is also Anything Goes

Here is my DT Make for the Challenge


 I have used a cute Besties Image you can get yours HERE


I coloured her using Copic Markers to match the Backing Papers I chose to use

Copic Colours used

Hair: E37, E35, E31
Skin: E13, E11, E21, E00, E000 Blush R20
Eyes, Hearts(on dress): YG63, YG61
Wings: R22, R20, E000
Hearts on Wings: R22, R39, R35
Ribbons: R39, R35, R22
Dress: YR07, YR04, YR02, YR00
Tights, Details on Wings: B39, B37

Ive added a hint of sparkle using a Sakura Stardust Clear Pen on her wings and headband

I have used pretty mulberry paper flowers and a few die-cut flourishes to embellish and balance my card along with lots of layers and a few pre-die cut embellishments from the paper pad i shose

I do hope you like my card I feel like this one is expressing more of my own style which is a bit Quirky like me


Thank you for visiting today and I do hope you will visit again soon

Krafty Hugs
Kerrie xx
UK Besties DT


Thursday, 4 September 2014

Introducing Large Peony - Red Rubber Stamp

Hiya and welcome to my DT post for Paperbabe Stamps

Today we are Showcasing the Large Peony in Red Rubber over on the Paperbabe Stamps BLOG

This beautiful Flower is a larger and more detailed version of the Peony from the Oriental Zen stamp set and is available in Gorgeous Quality Red Rubber. 

I have had a lot of fun playing with this Stamp which also has a pretty Bud Stamp included in the set 

My first project today is a Clean & Simple Card I always find these cards a little harder as I tend to want to fill the card up with layers and embellies so making a card without I have to hold back 

This gorgeous Stamp speaks for itself so I thought to show it off that I didnt really need to do much.

I Coloured onto the stamp using Distress Ink Markers in Fired Brick and Peeled Paint and stamped straight onto a pre trimmed piece of Watercolour Card, then using a Waterbrush I lightly painted the water over to created a watercoloured wash the detail of the stamp is gorgeous and still shows through. 

All I did then was a simple layer of Mirror Board and fixed the topper to a 6x6 Card Blank. To finish I stamped the Thank You greeting stamp from 'Mayleedee - Little Red Hood' stamp set

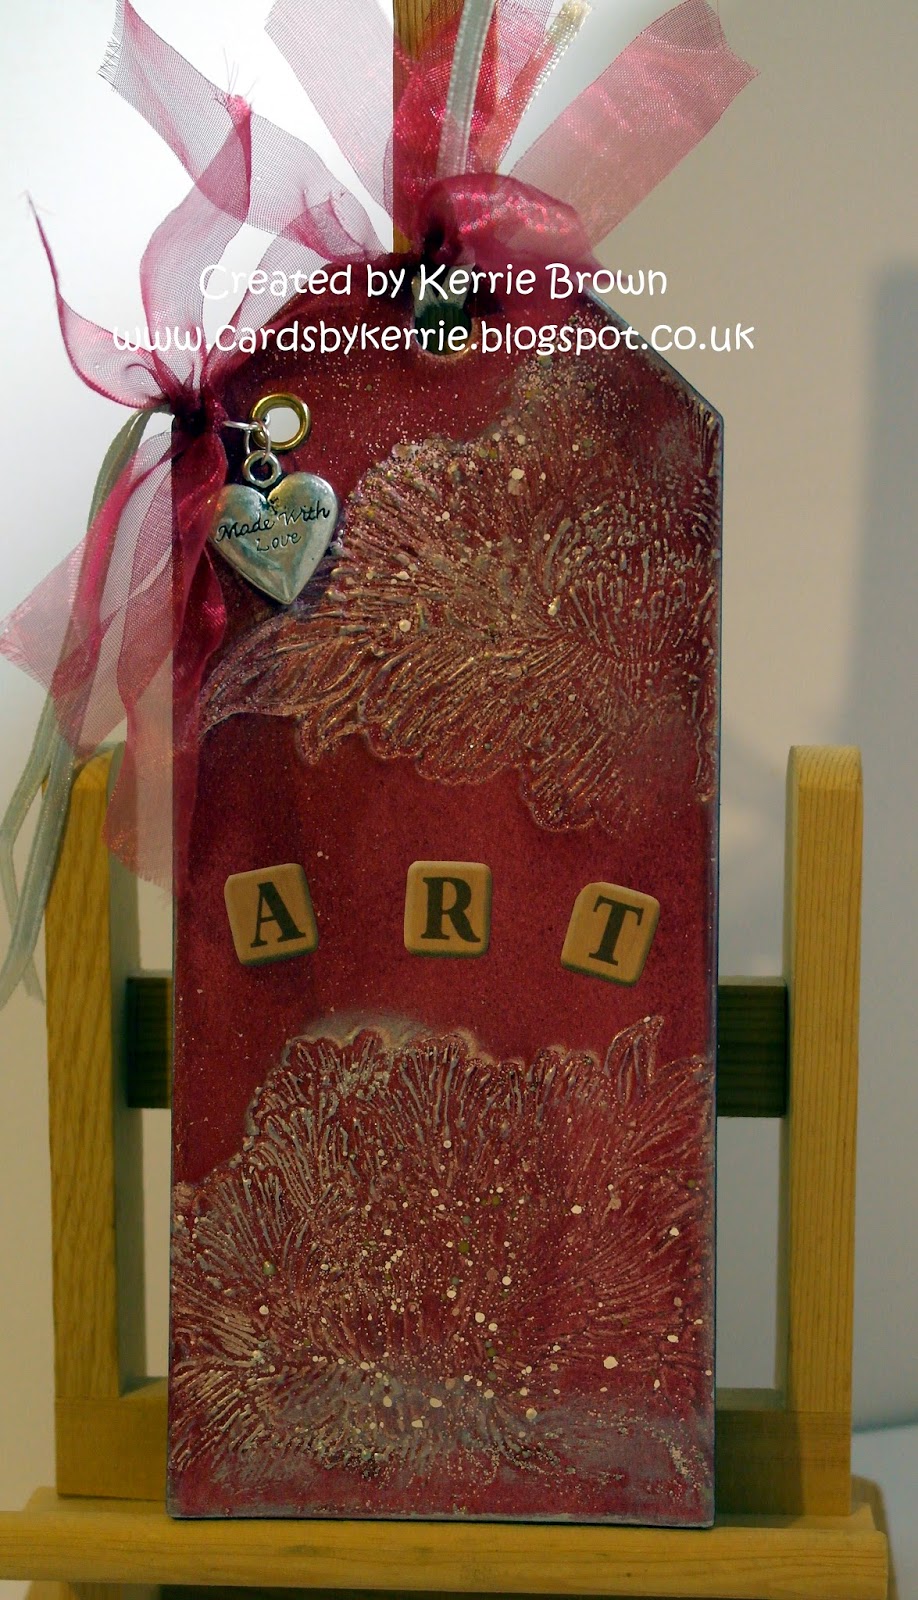
My second project today is a Tag which I have throughly enjoyed creating as it involved Messy embossing powder and my trusty old heat gun - The heat gun was the first item i ever brought when I started collecting my own craft stash after catching the Crafting Bug during Occupational Therapy in Hospital 

I used 3 layers of embossing ink and Cranberry embossing powder to create a thick enamel type surface to my grey-board tag and then for a bit of texture and interest i sprinked on some Frantage embossing enamel in Aged Rose and Shabby Pink - I then heated the whole tag again. I tapped an embossing ink pad over the Peony Stamp and pressed it down onto the hot embossing powders to create an imprint - I then heated the top of the tag and pressed the oposite side of the peony stamp into the embossing powders again.

Once the tag was cooled I rubbed a little guilding wax over the texture of the Peony's and around the outside edge of the tag.

Using a Dark Grey alcohol marker i coloured the edges of the tag so none of the grey-board was visible - I coloured the back of the tag too.

To finish the tag I punched a hole at the top edge below the existing pre-punched tag hole so that I could add a 'Handmade with Love' charm. I tied a few ribbons through the 2 holes. I also added a few Scrabble Tile embellishments to spell ART.

I hope you like my projects today they are a little different to my usual makes but thats what I love about crafting you can try something new and also fall in love with old techniques again 

Don't forget to head on over to Paperbabe Stamps BLOG to see more about the New Stamp Set from our Kim and links to the Design Team Projects

Krafty Hugs 
Kerrie xx
Paperbabe DT


Wednesday, 3 September 2014

Indroducing Beach Babe PinUp


Hiya and welcome to another DT post from me for Paperbabe Stamps

Today at Paperbabe Stamps BLOG we are Showcasing to you something a little different from our Kim.... Beach Babe PinUp a digi set especially for more grown up cards

This Beauty is a set featuring 4 different Swim Suits both in Digi and Faint Line so 8 Images in one set.


I had a lot of fun colouring her up using my Copic Markers and some Paper Piecing where I printed the digi again onto patterned paper and then cut out her swin suit and glued the pieces in place on my coloured image.


I chose to make a card with lots of layers with Digital Papers from my stash and some Mirror Board i used one of these papers for the paper piecing technique on the Digi Image. The Bow on her Swimsuit I coloured to match the flowers in the Paper.


 The layered flowers I made using 4 different sizes of flower die using the Papers used for the layers on my card. I cut each petal halfway to the centre to create movement and then embossed each petal on the reverse to add dimension and then layered them up using glue gel. I added flat back Pearls and Dew Drops to the centres.


The sentiment I stamped using 2 words from  the Paperbabe Fabulous Everything stamp set using Brown Ink I then Layered onto Mirror Board and attached to the car using Foam Pads

I hope you like my card and will visit again tomorrow for another Showcase from Paperbabe

Head on over to the Paperbabe Stamps BLOG to see more about the Digi Images and to find links to the other Design Team Blogs x

Krafty Hugs
Kerrie xx
Paperbabe DT


Tuesday, 2 September 2014

New Red Rubber Stamps Introduction over at Paperbabe Stamps


Hiya today we Introduce you to the New Red Rubber Stamps over at Paperbabe Stamps BLOG

You may have met these Characters Before but now they are available in Red Rubber too so really the best of all worlds, Clear Polymer, Digi Images and Red Rubber

The first of my DT Project's is using one of the new Red Rubber Stamps

Mayleedee

I really love this cute little Image but now she is available in Red Rubber too there are even more possibilites to your Creativity

I have stamped Mayleedee with Black ink and coloured her using Copic Markers

I chose the Papers first and then colour matched my Markers to the paper

I used a Rose Paper which is really pretty and a Rose Embossing Folder for the layer underneath which I have then picked up the embossed detail using a felted Ink pad. 

I used Paper Roses and a Leaf punch for embellishments

The Sentiment is from the 'Fabulous Everything' sentiment stamp set


Then for my next DT project I chose to use one of the other Character's who is also now available in Red Rubber

Mayleedee Kimono

I created a backing paper for this card using the Flower from the 'Oriental Zen' stamp set, I repeat stamped this pretty flower onto super smooth cardstock so that I could colour with Copic Markers, I first coloured over the whole cardstock using YR000 to give a soft background colour, then I coloured the flowers and leaves.

I coloured Mayleedee Kimono using shades of the same colours in Copic Markers 


I used more stamps from 'Oriental Zen' to stamp around the outside of the main Image to create a topper. I inked over this pattern using 2 shade of Distress Ink to match in with the colour of the leaves.

For the sentiment I heat embossed 3 layers of embossing powder over layers of embossing ink) and then pressed the sentiment into the hot embossing powder - this is something that can be done using Red Rubber as the heat doesnt damage the stamp

This embossed panel looks like a Metal Embellishment 

I do hope you like my cards and will visit again soon, Don't forget to visit Paperbabe Stamps BLOG to see more makes using the new stamps by Kim and the Design Team

Krafty Hugs Kerrie xx
Paperbabe DT
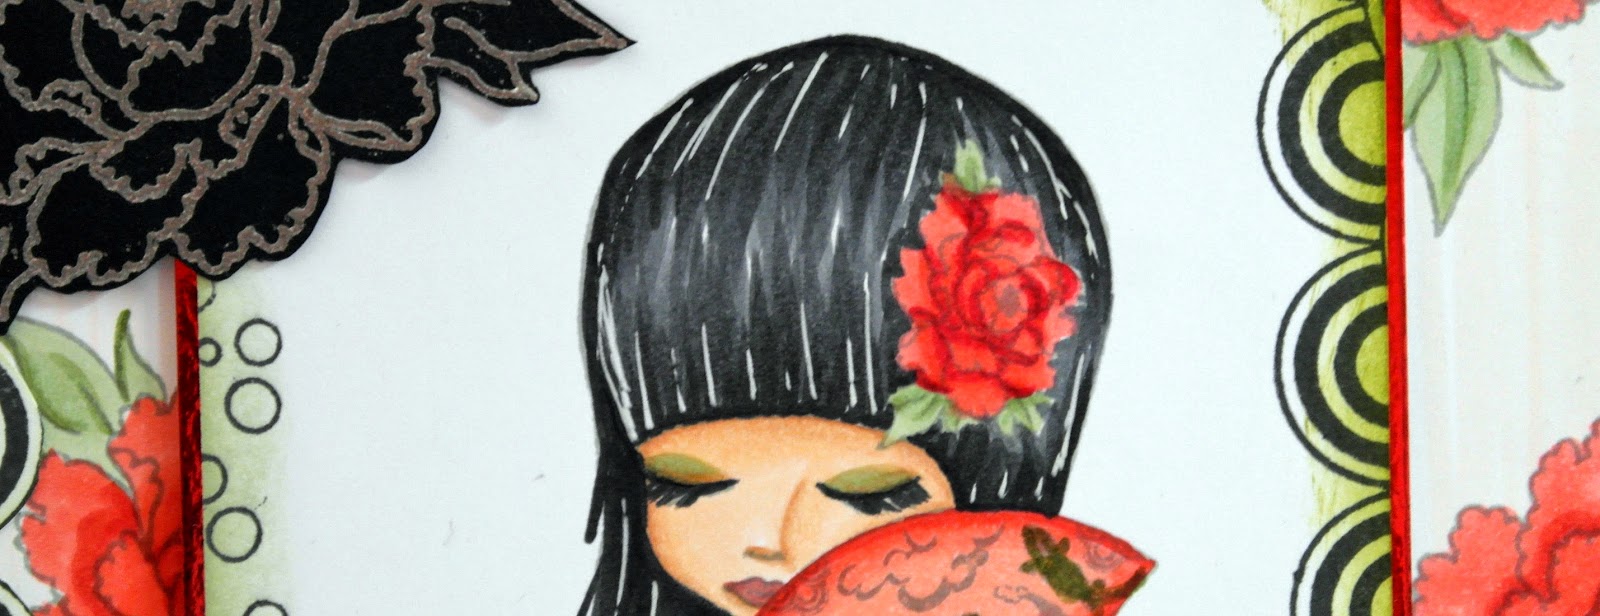

TCBOTB Background

Related Posts Plugin for WordPress, Blogger...