Followers

Showing posts with label Completely Conkers. Show all posts

Friday, 29 May 2015

Adorimal Dragon - for Paperbabe Challenge

Hiya and welcome to my Blog

Today we have a new Challenge for you over at Paperbabe Stamps Blog and the theme for this fortnight is 'Brights' which is perfect for the Spring-into-Summer season 

I could not resist creating a little Dragon from the DesignA Adorimals stamp set and Kawaii Face stamp set - there wasn't a Dragon in the set as such but using the available Stamps and some Imagination this little cutie was made
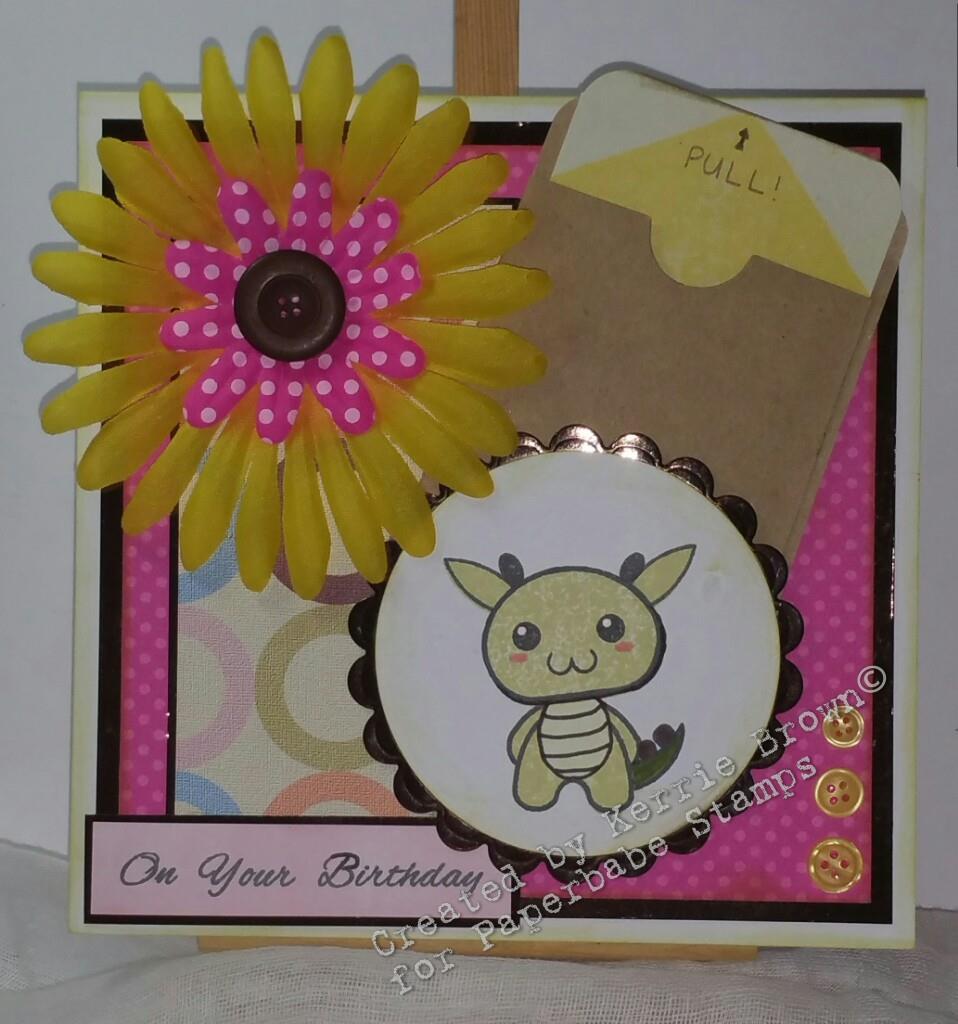

I stamped him using Memento ink and using the masking technique with post its to help his ears and tail look like they are behind the head/body. I used Distress Inks and Papermate Flair pens to colour

I teamed him up with some Bright papers from my stash which I also had some fabric flowers to match. I used some Chocolate coloured mirror board for matting to tie it all together.


I am a little bit addicted to Project Life cards at the moment and I had this bright yellow arrow card which I have stamped onto to create a little hidden message inside a card pocket from 'We R Memory Keepers' - the Paperbabe stamps I have used for the card are... 'Pockets Full Of' from the Completely Conkers set, 'diagonal stripe border' from the Fabulous Everything set and 'Love' from the Joy, Peace, Love set.

I also used a few of the words from Fabulous Everything to create the Birthday sentiment which I tucked in under the topper.

I hope you like my project today please do visit the Paperbabe Stamps Blog and enter the brilliant challenge where you can win up to £20 to spend at the Paperbabe Etsy Shop

Krafty Hugs xx
Paperbabe DT

Thursday, 13 November 2014

Its Beginning To Look Like Fall - DTBST - Sassy


Hiya it's Thursday again which means the start of a New 'Dare To Be Sassy Thursday' Challenge over at the Sassy Studio Designs BLOG 

The theme this week is 'It's Beginning To Look Like Fall'

The Sassy Team would like to see your projects made using the colours of 'Fall'

That means 'Yellow, Orange, Red, Gold'

You dont have to use a Sassy Studio Designs Image to enter but if you do you get to enter twice

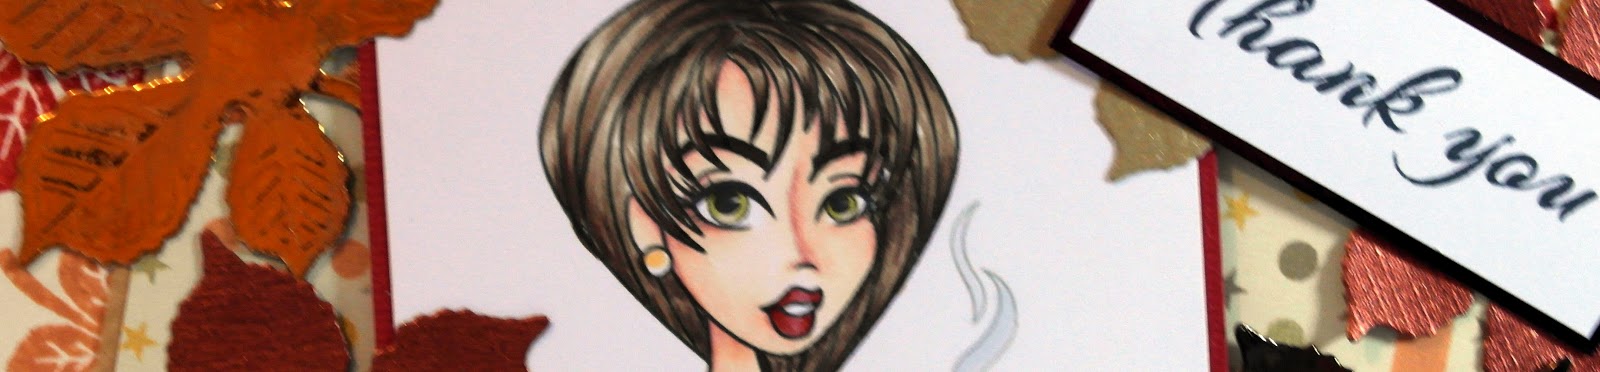
Here is my Project for today's Challenge I have used 'Holiday Pie Sassy' as my Image


This Image is also part of our Flash Back Friday post this week, she will be available at a discount price in Store for one week so go over and grab her quick as she will go back to full price next Friday.

I have coloured her using Copic Markers

Hair: E49, E44, E43
Skin: E04, E11, E21, E00, E000
Eyes: YG95, YG91
Lips: E09, E07, E04
Pearls: YR000, YR21
Belt & Shoes: E49, E44, C3
Dress: R08, YR07, YR04, YR02
Pie Tray & Steam: C3, C1
Pie Crust: E35, E31, E44


I made my own backing paper using a piece of ivory cardstock, distress inks and a lovely leaf stamp from Paperbabe Stamps.

I used some matt & layering using a printed backing paper from a Serif Thanksgiving Digi Kit, some offcuts of cardstocks from my stash and dark brown mirror board.

I used a leaf die from Joycrafts for all my embellishments. For a little extra touch I printed a Thanksgiving Menu and tucked this behind the topper.

The sentiment stamp is also from Paperbabe stamps.

I hope you like my card and will visit again soon

Please do visit the Sassy Studio Designs BLOG to see the other Design Team projects and to enter the challenge.

Hugs Kerrie xx
Sassy DT

Friday, 17 October 2014

Paperbabe Picture Inspiration Challenge


Today begins a New Challenge over at Paperbabe Stamps Blog and the theme is a Colour Picture Inspiration and it's perfect for this time of year


I wanted to upcycle an Instant Mash Tin to use as a craft tool pot so using some lush Paperbabe Stamps and some of my craft stash this is what I did

 
I have used 'Mayleedee Witchily' stamp for the main image on my project which I have coloured using some of my Copic Markers


Hair: R27, R17, R08, YR07
Skin: E04, E11, E21, E00, E000
Eyes & Book: YG67, YG63
Lips: E09, E04
Hat: E44, E43, E41
Blouse & Hatband: E44, E43
Skirt: E43, E41
Cat: N5, N3, R02
Background: YR24, YR23, YR21


I trimmed a large piece of cream cardstock which I stamped using the Leaf stamp and some of the smaller Conker elements from the 'Completely Conkers' set in various shades of distress inks to match the colours in the Inspiration Picture, I also added a few speckles using pale distress ink and the small splat stamp from the 'Watercolour Alphabet' set.

I wrapped a strip of frayed burlap around the top of the tin for texture


Ive diecut the coloured Image using a circle die and matted this onto a diecut doily circle, I attahed this circlar topper to the front of the covered tin and embellished using some colour matching paper flowers and some diecut flourishes. Lastly I punched a tag wich I tapped on the sentiment from the 'Mayleedee Witchily' set and the Autum sentiment from the 'Completely Conkers' set

Don't forget to join in the Paperbabe Challenge over on the Blog and why not join the Facebook Paperbabe Fan Group

I hope you like my upcycling project and hope you visit again soon

Krafty Hugs
Kerrie x x
Paperbabe DT


Tuesday, 7 October 2014

October New Stamps Showcase #1 over at Paperbabe Stamps

Oh so exciting today we have a chance to show off some of the New Stamps for October over at Paperbabe Stamps Blog - do please visit there to see more Samples from our Kim and the Design Team

The new stamps are so much fun to use and all can be used to layer up and over-stampI had a lot og fun with them xx

Today we get to show off to you

'Completely Conkers'


& 'Spritz and Speckles'


I had a lot of fun with these two sets I love the way they can be layered up and pieced together any way that you choose

My Example for 'Spritz and Speckles'


This simple birthday card I made using some of the stamps from the set layered over each other in opposite corners using 3 colours of Chalky Ink Pads (from my stash) I picked the colours to match a few papers I chose to use from a dark arty pad of backing papers I had but never know what to use them for - A few strips cut into banners and a piece used as a backing sheet were just enough (so I have plenty left for more cards later) I chose a lovely scallop edge cardblank but used this turned to the side so scallops are along the sides and bottom of the card. One of the banners I created using the border strip from the 'Fabulous Everything' stamp set from Paperbabe.

The border I cut from an offcut of micro corrugated paper from my offcuts box (a new habit I have taken up to use them up I sont like to waste anything) - the sentiment I made using some of the word stamps from the 'Fabulous Everything' stamp set.

I layered all the pieces together using all purpose glue and then wrapped some frayed burlap (from my stash) around the whole thing before fixing to the cardblank with 1mm thick foam tape.

My Example for 'Completely Conkers'


I really enjoyed making this Birthday Card this is such a cute set and can be used for so many occasions for absolutely anyone especially the Boys and Men in your life I know my Son's would love this one a lot.
I made a backing paper using the Leaf stamp from the set and some Autumn colours of Ink Pads from my stash. once dry I layered this paper using brown mirror board, wrapped some frayed burlap around the panel then fixed to a scallop cardblank using 1mm foam tape.
Using a smaller piece of stamping card I stamped 2 of the Conkers from the set using Chalky Ink Pads (I love that you get the two sections for each conker so you can layer colours easily), I stamped the conker strings, knots and bows using Memento Ink Pad in black. In opposite corners I stamped the leaf again with the Autumn colours Ink Pads. I then stamped the Smash-Rebound stamp using pale chalky inkpad to make the conkers look like they have just smacked together.
To finish I stamped the sentiment from the set on 'Smashing Birthday' the words are close together in the set to I inked the stamp first then wiped off the ink from Birthday so I could stamp just 'Smashing' first, next I stamped 'Autumn' just underneath, the repeated the ink and wiped off Smashing to stamp just 'Birthday' just underneath Autumn. (make sure to wipe all the ink off the word you don't want to stamp first or you will get marks on your card)

I hope you like what I have created using the new stamps thank you for stopping by see you again soon

hugs Kerrie
Paperbabe DT
xxxx

TCBOTB Background

Related Posts Plugin for WordPress, Blogger...