Followers

Showing posts with label DT. Show all posts

Tuesday, 10 March 2015

'Vera' - Dreams Come True - Bee Crafty Stamps

Hiya and welcome to my Tuesday post for Bee Crafty (sorry I was not here last week I was poorly - but much better now) 
Today I'm sharing with you a card I made using 'Vera' from the FASHIONettes and  'Dreams Come True' from WORDage
 

I stamped Vera using grey ink for a lighter lined image and coloured her using my Copic Markers
Hair: E29, E37, E35, E49
Skin: E04, E13, E11, E21, E00, E000
Dress: R35, R32, R22, R20
Jewellery: R35, R32
Sash, Eyes & Spots: YG67, YG63, YG61
Shoes: W8


Ive created some layers using brown mirror board, floral cardstock backing paper & pink mulberry paper. On the edges/corners  have used Walnut Stain distress ink with blending tool and the curl from the end of the 'Holly Swirl' Yuletide stamp - I love how this stamp can be used everyday without it being obviously christmas - I love swirls around edges and corners

I chose flowers in shades of peach to complement and frame the image and the flowers from the backing panel adding foliage with Diecut Swirls and Punched Leaves x
The sentiment is one of my faves 'Dreams Com True' WORDage
Thank you for visiting the Blog today and I hope you will visit again soon to see the gorgeous makes by the talented Design Team
Krafty Hugs xx

Thursday, 13 November 2014

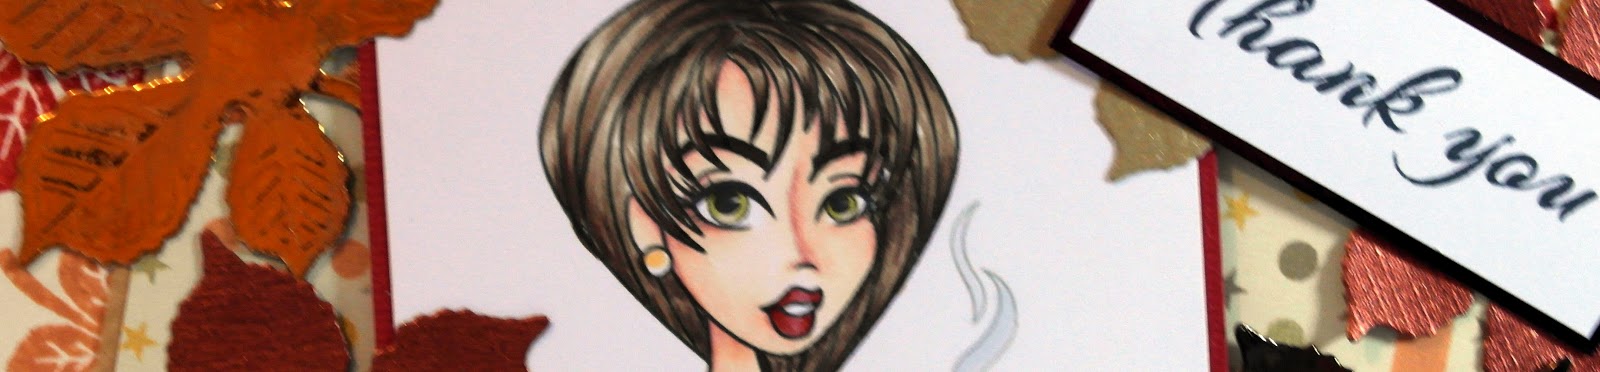
Its Beginning To Look Like Fall - DTBST - Sassy


Hiya it's Thursday again which means the start of a New 'Dare To Be Sassy Thursday' Challenge over at the Sassy Studio Designs BLOG 

The theme this week is 'It's Beginning To Look Like Fall'

The Sassy Team would like to see your projects made using the colours of 'Fall'

That means 'Yellow, Orange, Red, Gold'

You dont have to use a Sassy Studio Designs Image to enter but if you do you get to enter twice

Here is my Project for today's Challenge I have used 'Holiday Pie Sassy' as my Image


This Image is also part of our Flash Back Friday post this week, she will be available at a discount price in Store for one week so go over and grab her quick as she will go back to full price next Friday.

I have coloured her using Copic Markers

Hair: E49, E44, E43
Skin: E04, E11, E21, E00, E000
Eyes: YG95, YG91
Lips: E09, E07, E04
Pearls: YR000, YR21
Belt & Shoes: E49, E44, C3
Dress: R08, YR07, YR04, YR02
Pie Tray & Steam: C3, C1
Pie Crust: E35, E31, E44


I made my own backing paper using a piece of ivory cardstock, distress inks and a lovely leaf stamp from Paperbabe Stamps.

I used some matt & layering using a printed backing paper from a Serif Thanksgiving Digi Kit, some offcuts of cardstocks from my stash and dark brown mirror board.

I used a leaf die from Joycrafts for all my embellishments. For a little extra touch I printed a Thanksgiving Menu and tucked this behind the topper.

The sentiment stamp is also from Paperbabe stamps.

I hope you like my card and will visit again soon

Please do visit the Sassy Studio Designs BLOG to see the other Design Team projects and to enter the challenge.

Hugs Kerrie xx
Sassy DT

Wednesday, 8 October 2014

Fangtastic - my DT make for The Stamping Chef Challenge

Good Morning it's Wednesday and that means the start of a New Anything Goes Challenge over at The Stamping Chef BLOG go on over and visit to see the wonderful examples by the very talented Design Team x x

I have a folder full of coloured up Images from when I was one of The Stamping Chef Shop 'Colourists' so I chose one of these Images to use for my Challenge Example - such a shame for her not be made into a card - my 'Bite Me' image is a lot larger than I would colour normally for a card so she really is the focal point of this card so I havent added too many layers behind her.


I chose the backing paper as it has red roses on just like in the Image I layered this up with Black Mirror Board which i have attached to an A5 cardblank I made from a piece of Centura Pearl cardstock. 

The Image is coloured using Copic Markers

Hair C10, C9, C7, C5, C3
Skin: E02, E00, E000
Shirt, Skulls & Eyeshadow: C3, C1, C0, 0
Leaves: YG67, YG63, YG61
Roses, Lips: R59, R39, R37

I stamped one of my new Paperbabe Watercolour stamps (from Watercolour Alpha set) which I stamped around the edge of the Image using Memento Ink 'London Fog' this has given a paint splotched edge to the Topper. I then layered this using Black Mirror Board and attached to the Card Front using 1mm Foam Tape.

I die cut a Circular Die from Black Mirror board which I then cut in half and attached these to the card front tucked just under the topper and off the edge of the card. I die cut 2 Flourishes using Dark Green Mirror Board and fixed these to the black circular die cuts and layered some red roses, red rosebuds and red lillies using Glue Gel to frame the topper. The spiraled vines I made using a few pieces of flower wire wrapped around a paintbrush handle and then secured into the flowers by tucking behind them into the glue gel.

The sentiment is from a sheet printed from a download from Glamoureyes - I have spotted the typo in the sentiment but I had already attached this so I'm not too worried 

I hope you like my card and that you will be inspired to visit and take part in The Stamping Chef Challenge - there is a prize of 3 Images of own choice for the winner

Hugs Kerrie
TSC DT
xxx

Tuesday, 2 September 2014

New Red Rubber Stamps Introduction over at Paperbabe Stamps


Hiya today we Introduce you to the New Red Rubber Stamps over at Paperbabe Stamps BLOG

You may have met these Characters Before but now they are available in Red Rubber too so really the best of all worlds, Clear Polymer, Digi Images and Red Rubber

The first of my DT Project's is using one of the new Red Rubber Stamps

Mayleedee

I really love this cute little Image but now she is available in Red Rubber too there are even more possibilites to your Creativity

I have stamped Mayleedee with Black ink and coloured her using Copic Markers

I chose the Papers first and then colour matched my Markers to the paper

I used a Rose Paper which is really pretty and a Rose Embossing Folder for the layer underneath which I have then picked up the embossed detail using a felted Ink pad. 

I used Paper Roses and a Leaf punch for embellishments

The Sentiment is from the 'Fabulous Everything' sentiment stamp set


Then for my next DT project I chose to use one of the other Character's who is also now available in Red Rubber

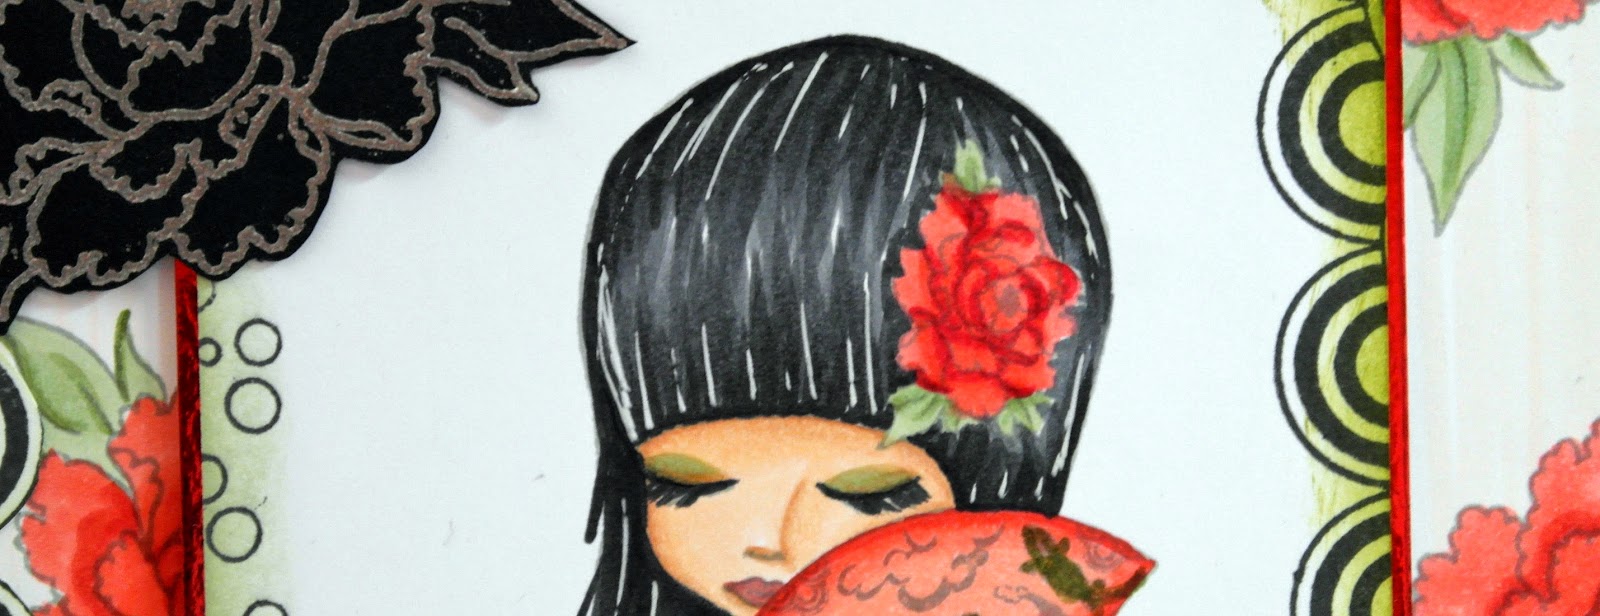
Mayleedee Kimono

I created a backing paper for this card using the Flower from the 'Oriental Zen' stamp set, I repeat stamped this pretty flower onto super smooth cardstock so that I could colour with Copic Markers, I first coloured over the whole cardstock using YR000 to give a soft background colour, then I coloured the flowers and leaves.

I coloured Mayleedee Kimono using shades of the same colours in Copic Markers 


I used more stamps from 'Oriental Zen' to stamp around the outside of the main Image to create a topper. I inked over this pattern using 2 shade of Distress Ink to match in with the colour of the leaves.

For the sentiment I heat embossed 3 layers of embossing powder over layers of embossing ink) and then pressed the sentiment into the hot embossing powder - this is something that can be done using Red Rubber as the heat doesnt damage the stamp

This embossed panel looks like a Metal Embellishment 

I do hope you like my cards and will visit again soon, Don't forget to visit Paperbabe Stamps BLOG to see more makes using the new stamps by Kim and the Design Team

Krafty Hugs Kerrie xx
Paperbabe DT


TCBOTB Background

Related Posts Plugin for WordPress, Blogger...