Followers

Showing posts with label Joycrafts. Show all posts

Wednesday, 18 February 2015

Paperbabe Inspiration - Using Offcuts

Hiya and welcome to my Blog

I hope you are all well and enjoying some lovely weather its quite warm and sunning here is Harlow today

Today I am sharing 2 quick makes I made yesterday for Paperbabe Stamps

My first project I used 'Mayleedee' I coloured her using Copic Markers and paper-pieced her dress


Copics Used:

Hair: E79, E74, E71
Skin: E11, E02, E02 Blush: E93 Lips: E04
Collar, Bow, Eyes, Underskirt & Boots: BG18, BG13, BG10, N3


Card Recipe:

Card blank made from an offcut of pearlescent white cardstock scored and folded in half
Background - Ash Brown Mirror Board embossed using a Floral 6x6 Embossing Folder (magazine freebie)
Paper-Piecing, Matting and Diecut - Paper browns & aquas floral - from a pad from Studio Light
Bunting Die - from Joycrafts
'Hello' sentiment stamp from the 'Mayleedee' set
Aqua flat back pearls from my stash

------------------------------------------------------------------------------

My second project I have gone for a natural knitted feel using the 'DesignA Knit' stamp set
 

First I stamped the pompom flower head, curved the stem and used two stitches as the leaves using brown Memento Inkpad


Card Recipe:

Cardblank made using an offcut of pearlescent cardstock scored and folded in half
Offcut of Ivory Pearlescent cardstock trimmed to fit cardfront and embossed using an 8x8 knitted embossing folder
Matting Dark Brown Mirror Board
Layering - Offcuts of Kraft Card and Vellum
'Cozy Snuggles' sentiment stamp from the 'DesignA Knit' set
Twine and Gems from my stash

I hope you like my cards and that I have inspired you to use up your offcuts? I do this a lot as I dont like to waste anything

I would love it if you joined the Paperbabe Facebook Group for updates on new products and peeks at the Design Team and Kim's Projects xx

Thank you for visiting today and I hope you will come back soon

Krafty Hugs xx

Monday, 16 February 2015

Cute & Cuddly Cupid x


Hiya and welcome to my Blog

Over at the Crafting Musketeer's Challenge Blog today we are sharing with you our makes for the Midway Reminder for our February Challenge - 'Cute'

We have been kindly Sponsered this month by Cuddly Buddly Crafts

I chose to use this Gorgeous Cupid image with some of their papers and one of their sentiments


Image coloured using Copic Markers:

Hair: YR21, Y23, YR31
Skin: E11, E02, E00, E51, E50 Blush E93
Wings: RV10, YR000
Headband & ArrowTip: RV34, RV11
Arrowhead: RV11, RV10
Pants: RV23, RV21. RV11, RV10


Card Recipe:

3 papers kims digi papers pretty mix red - Cuddly Buddly 
Image 'Lilyboo - Little Cupid' - Cuddly Buddly
Sentiment sweet summer sentiments - Cuddly Buddly
Ruby Red pearlescent cardstock - my stash
Doily's - Hobbycraft
Border Punch - Martha Stewart
Paper Flowers - Wild Orchid Crafts
Leaf Flourish Die - Joycrafts

 Head over to the Challenge Blog to see more gorgeous Design Team creations from the Amazing Crafting Musketeer's Team and why not enter we have a brilliant prize £10 to spend at Cuddly Buddly Online Shop x

Thank you for visiting today and I hope you will come back soon

Krafty Hugs 
Kerrie x
Crafting Musketeer

Saturday, 17 January 2015

Saturday Sketch - 'With Love'


Hiya and welcome to my Blog

Today a New Sketch Saturday Challenge begins over on the Challenge Blog and we are being sponsored by.... Bunny Zoe's Crafts and the prize is £10 to spend on their Shop

Go on over and check out the gorgeous Blog and see the Stunning Creations by the Amazing Design Team that I have the honour of being Guest Designer for through January - do please join in the fun all you need to do is follow the Sketch

Here is the Sketch we have for this week...
I coloured my chosen Image using Copic Markers

Copic Markers:

Hair: E37, R35, R31
Skin: E11, E02, E00, E51 Blush: R02
Lips: E04, R02
Eye Makeup & Hair Tie: C3, C1
Shirt: R37, R35, R32, R22, R20, N3

Recipe:

A5 Cardblank, scored and folded from A4 Centura Pearl cardstock - Crafters Companion
All Matting, golden brown Mirror Board - Joycrafts
Background - salmon pink Silky Cardstock - Joycrafts
Embossing - A4 Embossing folder - 'Sue Wilson' Creative Expressions
Floral Layer cut from an Offcut from my fave cardstock pad - Joycrafts
Oval topper and Border cut from Oval Floral Die - Joycrafts
Sentiment Stamp - Bee Crafty Stamps
Paper Cherry Blossoms & Paper Roses - Wild Orchid Crafts
Paper Rose Wires trimmed from the flower using wire cutters and spiralled around a pokey tool
Flat Backed Pearls from my own stash - were white but coloured using R35 Copic Marker

Thank you for visiting my Blog today and I hope you will visit again soon

I am entering this card in the following challenge:

Sassy Studio Designs - It's My Thang' (fave colour combo)

Krafty Hugs
Kerrie xx
Saturday Sketch GDT

Friday, 16 January 2015

Crafting Musketeers - Midway Challenge Reminder - DT Make

Hiya today its the Challenge Midway reminder over at Crafting Musketeer's 

The theme of the Challenge is 'Hats/Valentines' - and our sponsor for this challenge is Lacy Sunshine the prize from her is very genorous head on over to the Crafting Musketeer's Blog to see all the details

Here is my make for the Challenge using... 'Patchy Penny Snowflake' from Lacy Sunshine


I have created a 'Winter Birthday' card for the challenge - I chose my papers first and then coloured the image to match the colours in the papers

I used Copic Markers:

Hat: RV25, RV21, RV10
Hair: E49, E43, E41 Bows: RV25, RV21
Skin: E11, E02, E00, E51, E50 Blush: R20
Eyes & Snowflakes: YG06, YG03
Coat: G28, G17, G16
Skirt: RV25, RV21, R20
Dress Patches: YG06, YG03, RV25, RV21, RV10, R20

Card Recipe:

Studio Light Backing Papers 
Joycrafts Silky Cardstock
Joycrafts Circular Die
Joycrafts Snowflake Die
Xcut Snowflake Die (free on Docrafts magazine)
Craftwell Embossing Folder (free with eBosser)
Tim Holtz distress ink Spun Sugar
Tim Holtz mini ink blending tool 
Pink Gems (from my stash)
Sentiment typed and printed from laptop

I hope you will join in the challenge and I hope to see you here again soon

I am entering this card into the following Challenge:

Love to Create Challenge Blog - Add Snowflakes

Krafty Hugs
Kerrie xx
Crafting Musketeer's DT

Thursday, 27 November 2014

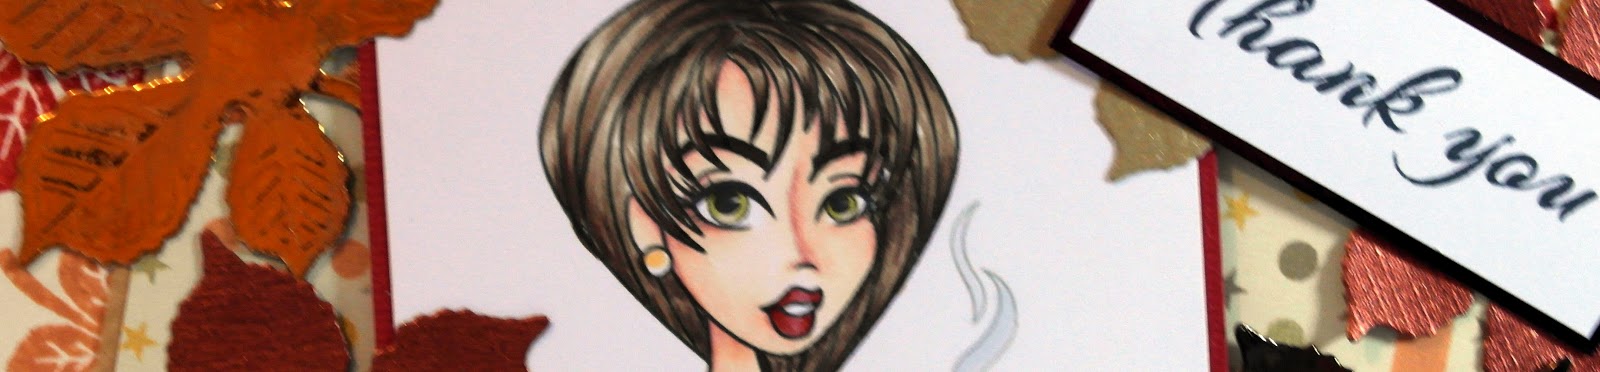
I would Thank You from the Bottom of my Heart....


Today there is a New Dare To Be Sassy Thursday (DTBST) Challenge over on the Sassy Studio Designs BLOG and the theme is 'Giving Thanks'

I chose to use one of the New Images from the Sassy Studio Design's Store 'Princess Feathers Portrait' she was really fun to colour


I coloured her using Copic Markers

Hair: C9, C7, C5
Skin: E44, E43, E41
Eyes: E44
Lips, Feathers & Headband: R24, R22, R20


Recipe

A5 cardblank made with Centura Pearl cardstock.
Studio Light Backing Paper backed with dark brown Mirror Board.
Hessian Strip with strip of dark brown Mirror Board for dimension.
Oval die (Joycrafts) that cuts a border and an inner, cut the border from Mirror Board and the topper from super smooth cardstock that I had printed the Image onto.
Leaves and Mushroom dies (Joycrafts) cut from Mirror Board and Kraftcard, layered up.
Sentiment from 'Scrap-a-licious Times' trimmed and backed with mirror board, fixed at a jaunty angle.

I hope you like my card and will visit the Sassy BLOG to see the other makes from the Design Team and enter the Challenge go on its a lot of fun.

Thank you for visit my Blog I hope you will visit again soon

Hugs Kerrie xx
Sassy DT

Thursday, 13 November 2014

Its Beginning To Look Like Fall - DTBST - Sassy


Hiya it's Thursday again which means the start of a New 'Dare To Be Sassy Thursday' Challenge over at the Sassy Studio Designs BLOG 

The theme this week is 'It's Beginning To Look Like Fall'

The Sassy Team would like to see your projects made using the colours of 'Fall'

That means 'Yellow, Orange, Red, Gold'

You dont have to use a Sassy Studio Designs Image to enter but if you do you get to enter twice

Here is my Project for today's Challenge I have used 'Holiday Pie Sassy' as my Image


This Image is also part of our Flash Back Friday post this week, she will be available at a discount price in Store for one week so go over and grab her quick as she will go back to full price next Friday.

I have coloured her using Copic Markers

Hair: E49, E44, E43
Skin: E04, E11, E21, E00, E000
Eyes: YG95, YG91
Lips: E09, E07, E04
Pearls: YR000, YR21
Belt & Shoes: E49, E44, C3
Dress: R08, YR07, YR04, YR02
Pie Tray & Steam: C3, C1
Pie Crust: E35, E31, E44


I made my own backing paper using a piece of ivory cardstock, distress inks and a lovely leaf stamp from Paperbabe Stamps.

I used some matt & layering using a printed backing paper from a Serif Thanksgiving Digi Kit, some offcuts of cardstocks from my stash and dark brown mirror board.

I used a leaf die from Joycrafts for all my embellishments. For a little extra touch I printed a Thanksgiving Menu and tucked this behind the topper.

The sentiment stamp is also from Paperbabe stamps.

I hope you like my card and will visit again soon

Please do visit the Sassy Studio Designs BLOG to see the other Design Team projects and to enter the challenge.

Hugs Kerrie xx
Sassy DT

Wednesday, 12 November 2014

Merry Christmas with Tonic & Bebunni

Hiya I have officially begun making my Christmas Cards - even though I've been making Christmas samples since June I've finally started making my own 

This is one of the First makes for Christmas this year 

I have teamed up on of my Bebunni Christmas stamps from Crafters Companion with some Dies from Tonic


I coloured Bebunni using my Copic Markers

Fur: C5, C3, C1
Inside Ears & Label: W3, W1
Hat & Poinsettia: R29, R27, R24
Hat Trim & Bobble: C2, C0
Stamens: Y00, YG61
Leaf & Stem: YG67, YG63, YG61


I have used the Border from 'Verso Merry Christmas Sentiment Die Set' to create a topper to stamp onto. I created a Matt using the Outer Edge from the set too its a lovely wavy edge.

The Red backing paper I used is from a Studio Light pad from Creataonline.

For the Easel Card stopper I have used the 'Small Lacy Bows Die Set' I cut the Bow first from green mirror board from Joycrafts and then from White cardstock using the filagree insert dies from the set.

The Easel Card I made using two 6x6 Card Blanks.

I cut the sentiment stamp using a small circular die, I cut one matt from a slightly larger circular die and then the scallop matt using the outer edge die from the 'Tonic Gold Freebie Set'

I added some paper flowers layered up with 2 punched leaves to embellish.

I hope you like my Card and will visit again soon

Krafty Hugs
Kerrie x x


Thursday, 6 November 2014

Frankie - DTBST - Sketch It Up


Hiya today we have a New Challenge over at Sassy Studio Designs blog for DTBST (Dare To Be Sassy Thursday)

The theme today is a Sketch


I've had an Image and Papers from Sassy Studio Design's printed out for a while now so decided now was the time to get her coloured up and on to a card

I used the 'Monster Sassy Frankie Set' - digi image and papers


 I coloured her using Copic Markers

Skin: BG11, BG10
Eyes & accessories: B02, B00
Lips: E07, E04
Eyeshadow: V20, V01
Bow: V01
Dress: C9, C7, C5
Belt: C5 and silver sakura
Tie: C6, C4
Stitches: C3
Skirt: C2, C0
Shoes & Hair: C8, C6, C1, 0


I made a Paper Rose using spotty paper from my scrap box and a Blossom Punch by Joycrafts, I shaped the petals using the Blossom Tool Kit also by Joycrafts


I used an A4 embossing folder designed by Sue Wilson for the background I matted this panel with black cardstock and fixed to an 8x8 cardblank. The Argoyle Papers are from the 'Monster Sassy Frankie Set' this i trimmed into a strip, matted using silver mirror board and fixed to card front using foam tape. The tabs I cut from scraps from my scrap box and attached under the Argoyle panel using glue gel.

I trimmed the Image into a topper, matted with black cardstock and attached to the card front using 2 depths of foam tape because one side fits to the already raised panel. I then trimmed a patterned ribbon from American crafts and fixed to the cardfront using tacky glue so that it tucked just under the image topper.

I die cut some flowers and layered up with centres and fixed to the card front using glue gel, I attached the large paper rose to finish my card. I have not added a sentiment yet so i can re-use this card in future for any birthday party etc that one of my girls may get invited to.

I hope you like my card and that you may be inspired to try something new with the sketch from the DTBST Challenge please do visit the blog to see all the details

Krafty Hugs
Kerrie x x
Sassy DT


TCBOTB Background

Related Posts Plugin for WordPress, Blogger...