Hiya and welcome to my Blog - this week I have been making gifts for the teachers from my children I created these cute little Calendar/Notebook's but I thought what do i never have to hand when making a note?? A pen lol so i added a little penholder and mini gel pen to the gift
I have made a few of these already and have quite a few left to make but while posting a pic of them on my Facebook to show what I have been doing I had a few frends ask how I made them so I thought I would do a little tutorial for them on my Blog so you can see and maybe make some for yourself
Tutorial
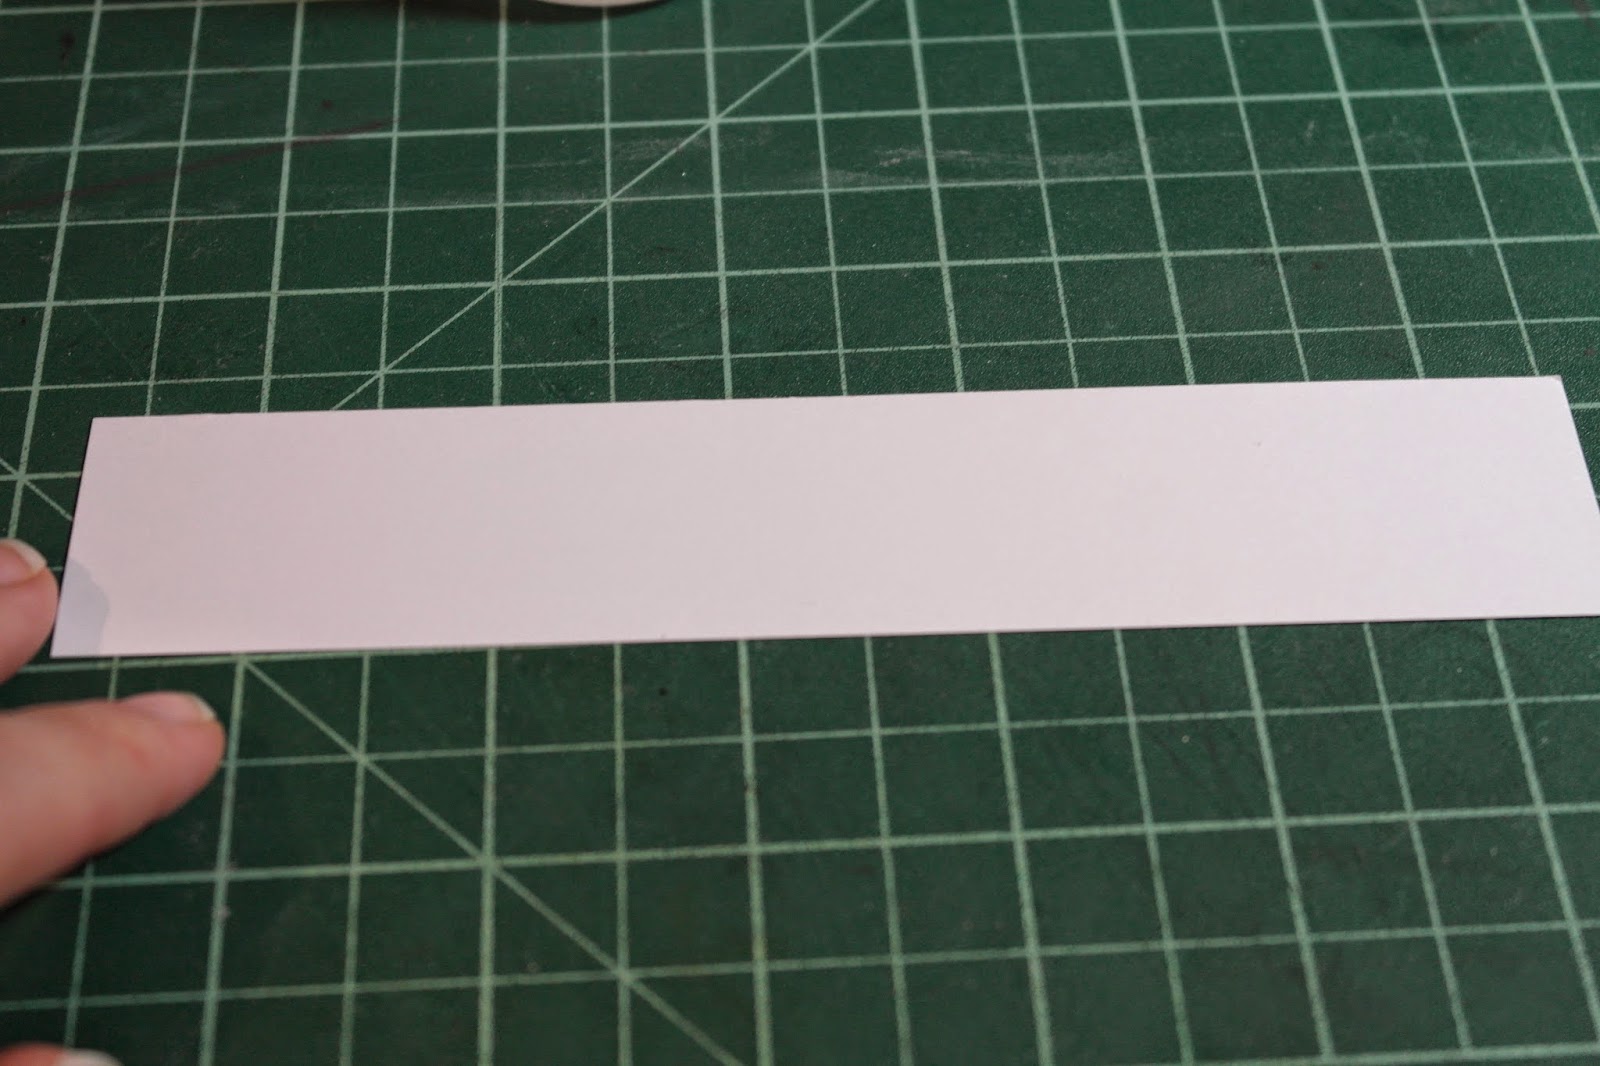
First you need to choose a cardstock it needs to be quite strong but not too heavy - I chose Centura Pearl its so pretty to use and I had a lot of offcuts from boxmaking so this was a perfect chance to use them up
You also need to pick some pretty paper to decorate your Calendar/Notepad, I chose some pretty glittered cardstock from Studio Light
You also need:
Paper Trimmer
Scissors
Ruler
Bone Folder/Score tool
Score Board (inch measurements with eighth's)
Postit Pad (3 x 3 inch square)
Calendar tab
Mini gel pen
Strong Glue
Extra Strong Tape
Foam Tape (1mm deep)
Scrap of Mirror Board
Scrap of white paper
Border punch
Ribbon (& Ribbon slider if using)
Small paper Flower
Gems or Pearls
Next we have to measure and trim the Cardstock and Papers
Cardstock:
Base: 9 6/8 inch x 3 1/2 inch
Front Easel Panel: 3 1/2 inch x 4 1/8 inch
Paper:
2 of 3 3/8 inch x 1 7/8 inch (short panel)
3 3/8 inch x 3 7/8 inch (back panel)
3 3/8 inch x 4 inch (front panel)
3 3/8 inch x 3 3/8 inch (panel under note pad)
make note of which panel is which (details in brackets) just so you don't mix them up later
Take the Base part of Cardstock and Score at 4 1/8 inch, fold the score line and burnish with bone folder, butt the fold line right up against the edge of the score board and then score again at 4 1/8 then score at 4 1/2, 4 7/8 & 5 2/8, fold and burnish all score lines.
Next fold up the end on the 3rd score line
We now need to make 2 cuts in this fold up to the first score line see photo's below...
Put strong tape on the back of the 4 scored parts avoiding the cut out see photo below
The next part is a bit fiddly but I have taken a few photos to help we need to stick the taped parts together to form the pen holder
Stick the first fold straight down but pull out the untaped part like in first photo, stick the next two folds together to form a wall see middle photo, stick the last panel down to the base part like in the last photo - you now have a penholder and a wall for the notepad to rest on later
Fold the back panel in half to the middles score line and burnish to form the moving part of the easel see photo below
Next we start to attach the backing paper panels to the corresponding panels on the base of the project
Stick the paper labeled front to the front panel, flip the large base panel over and stick the paper labeled back to the large section, take one of the small pieces labelled short panel and stick to the bottom half of the scored flap - see photo
Stick the front panel to the undecorated half of the scored flap as shown in photo below
flip the project over to the back and take the last short paper panel and glue to the reverse of the front panel this hides the plain white part so the project looks neat even from the back
You have one last paper panel left its the one for under the postit notepad glue this in place
Using a strong glue (i use collal all purpose) to stick the postit notepad in place right up against the wall we created earlier
Next take a scrap of mirror board in a colour that co-ordinates with your papers and trim to 3 1/16 inch x 2 1/16 inch and glue the calendar tab to it leaving a tiny border. Stick the foam tape to the reverse and set aside for later
Use a scrap of white paper and punch along it using a pretty border punch, trim this border to 3 1/2 inch
Glue the Border to the front panel and slide the pen into the penholder
Attach a ribbon with ribbon slider if using or tie the ribbon round the panel and tie a bow
Then fix the calendar tab to the front
Decorate with paper flower and gems or pearls
Your Easel Calendar/notebook with penholder is finished - these make lovely gifts for teachers or stocking fillers
I hope you have enjoyed my little tutorial and that you will enjoy making these cute little gifts
Krafty Hugs
Kerrie xxx